Hot : make sure to checkout the YouTube video and the interactive 360° panorama of the portable Apple ][ emulator I built down below! Checkout the License section as well.
Press : See the Hackaday article »Portable Apple II On An AVR« featuring this project.
- Table of Contents
- Demonstration: & 360° view
- Documents
- Background story
- Visual impressions
- Future development
- Conclusion
- Appendix: OpenOffice?
- License
The Apple ][ personal computer was one of the first three completely assembled systems on the market. It was sold several million times from April 1977 till 1993. This 8 bit home computer was developed by Steve »The Woz« Wozniak and evolved together with Steve Jobs. They paved the way for the Apple Macintosh computer and the nowadays well known brand Apple with its products.
Back in 2014 I wrote my Bachelor thesis about emulating a complete Apple ][ (»two«) on an Atmel AVR microcontroller. The thesis describes the implementation of a software emulator for the complete Apple ][ computer system on a single Atmel AVR microcontroller unit (MCU).
Although the microcontroller runs at 20 MHz and the Apple ][ runs at roughly 1 MHz it is quite a challenge to get this working. The microcontroller not only emulates the original processor of the Apple ][ computer - the famous MOS 6502 - but also performs other tasks like display output and keyboard input. This requires an efficient emulation of the 6502 and memory management since the resources of a microcontroller are very limited when intending such challenging operations. The thesis shows the development of the processor emulation software and examines different design patterns of reaching the goal of a fast processor emulation. For every different approach the strenghts and weaknesses are scientifically evaluated.
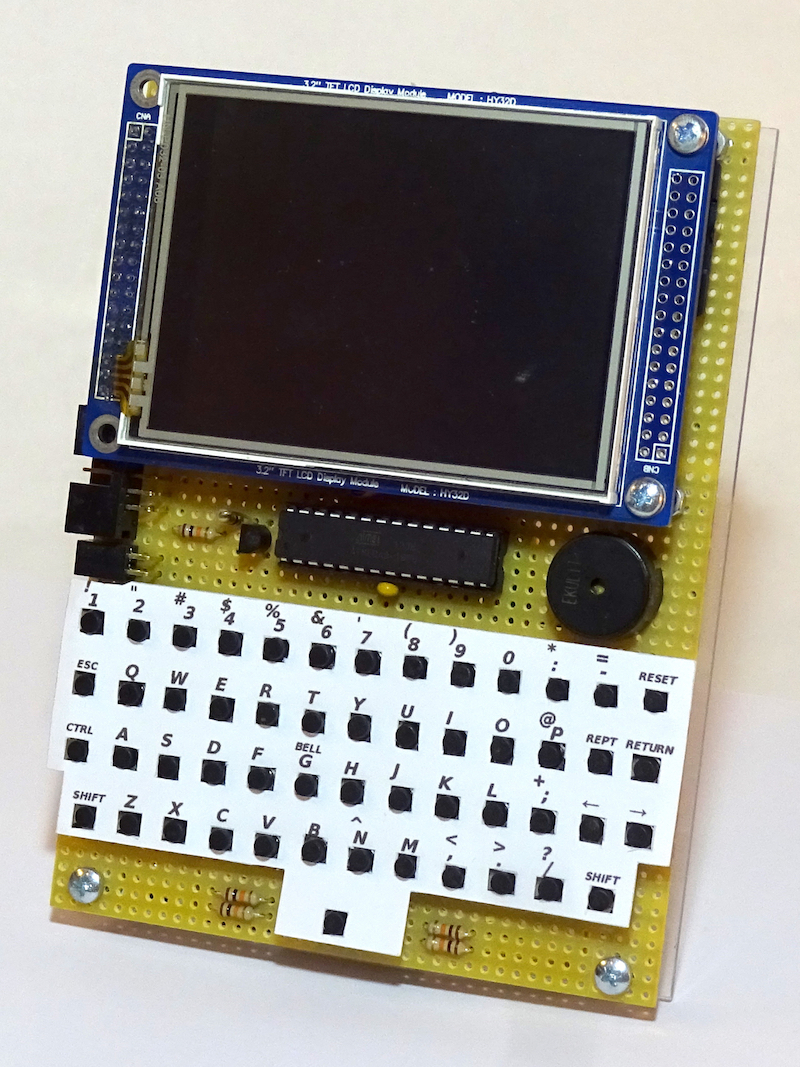
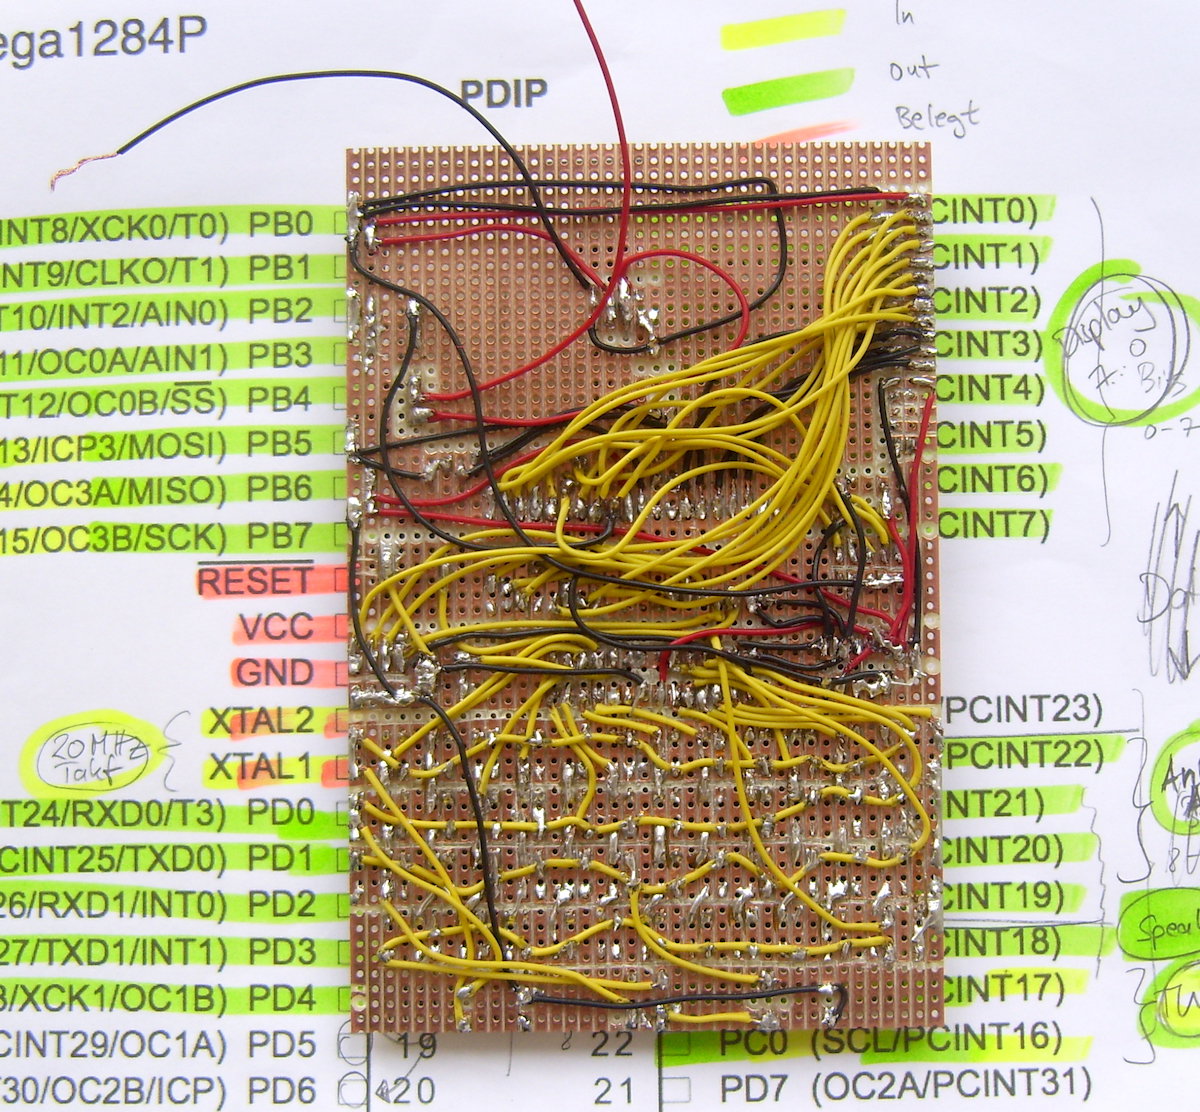
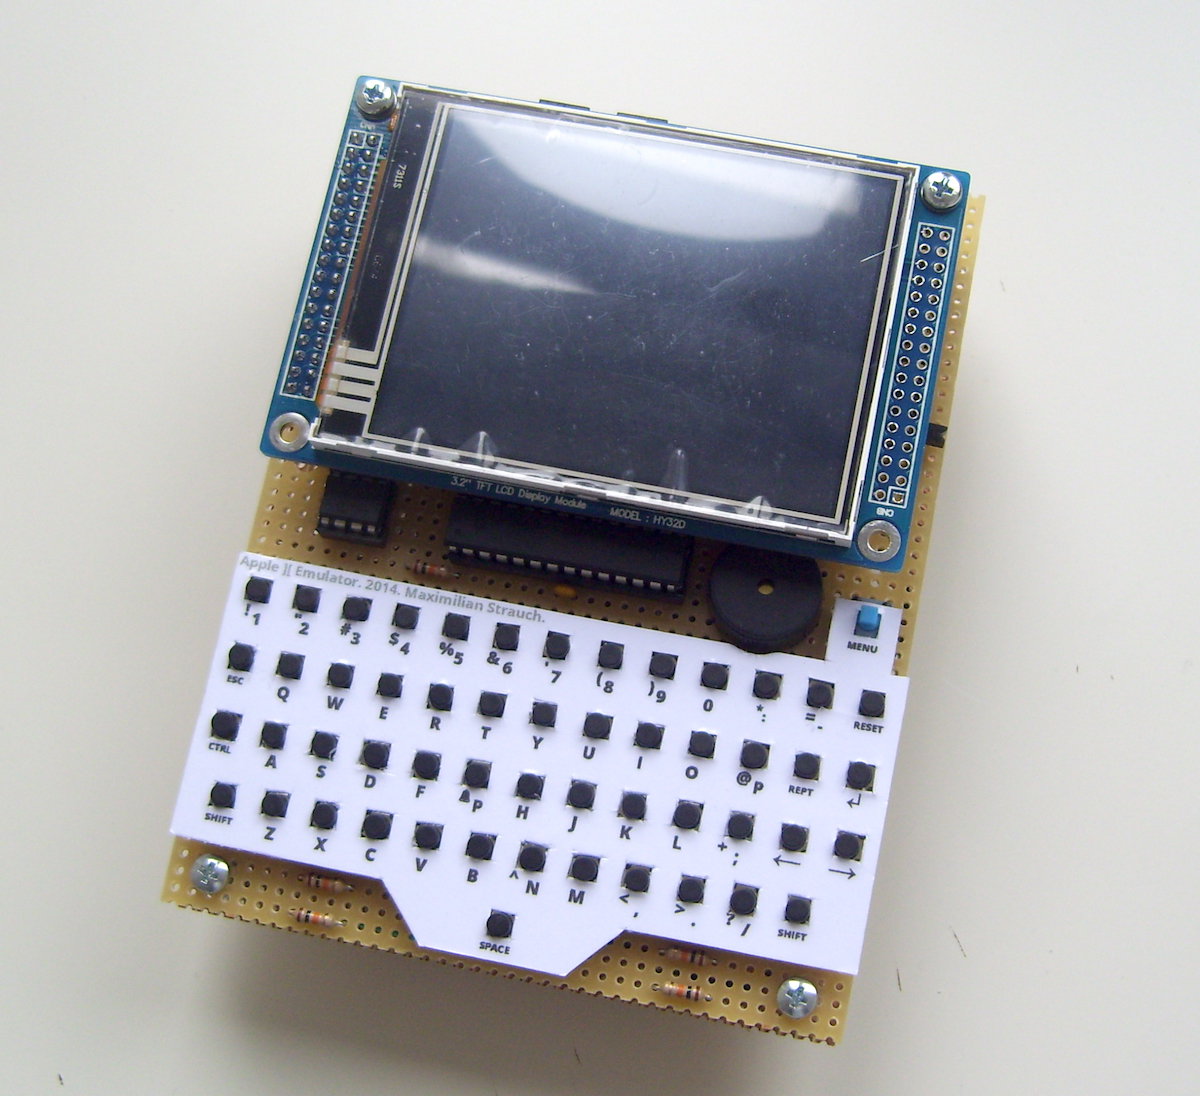
The final product is a highly improved emulation of the MOS 6502 CPU, written in AVR assembler, which is then used on an AVR ATMega 1284p microcontroller together with other electronic parts to create a portable and battery powered Apple ][ (emulator) handheld prototype.
Demonstration
The follwing 360° slide panorama shows the result of my thesis: a fully functional, battery powered and portable Apple ][ emulator. You can use the mouse to rotate the panorama to view the emulator from different angles - otherwise it will spin by itself.
To demonstrate the behaviour of the emulator and see some old programs executed by the emulated Apple ][ I created the following embedded YouTube video. It shows the final (third) prototype in action and demonstrates most of it's features. Enjoy it!
Documents
If you are interested in the topic and my thesis you can download the complete PDF file in the following. The thesis describes the MOS 6502 architecture, the development of a fast emulation of it and the hardware and software design of other parts of the handheld unit in glorious detail. The following sections are very interesting and worth taking a look at:
- Section »2.1.1 MOS Technology 6502« (p. 12) explains the principle of operation of the famous 6502 processor and especially the section about the addressing modes explains the different modes very extensively.
- Section »2.3 Different architectures« (p. 27) compares the Von Neumann architecture (used by almost every modern computer and by the Apple ][) against the Harvard architecture (used by the used microcontroller).
- At the beginning of chapter three different approaches to emulate the MOS 6502 processor are presented (p. 32 and following) and analyzed why they are not fast enough.
- With the knowledge of the previous attempts section 3.2.8 (p. 44 - 52) presents the solution which is to implement the MOS 6502 processor emulation directly in AVR assembler and utilize the status register of the AVR processor to set the status flags of the emulated processor since it turned out that calculating the status flags in high level languages (or generally in software) takes a huge effort which causes the slowdown.
- Later, in chapter three, the structure of the entire firmware of the final handheld emulator is presented (see figure six, p. 54 or figures below) and structure of Apple floppy images is presented (see figure seven, p. 59) to let the emulator later load software from floppy disk images.
- The thesis is concluded with chapter five taking a look at the initial requirements and the results. It finally also answers the initial question whether it is possible to emulate an 8-bit computer system on an 8-bit microcontroller with only a slightly higher system clock (see p. 80 and following).
Download the full thesis (PDF, 2.3 MB) SHA-1 2b9d935b56545472f4c6571f5a03d5f96a15effb
Additionally I held a presentation for my supervisors, colleagues and everybody interested in the topic. Despite the fact that it is mostly in German it might be worth to take a look at since the keynote gives a short (visual) overview about what I did.
Download the full keynote (PDF file, 8.3 MB) SHA-1 bf95f44947552ac241673e02d29fa3826a43a95b
You can also download the full schematic for the Apple ][ emulator developed during my thesis. I created the schematic using CADSoft's Eagle.
Download the schematic (PDF file, 97 KB) SHA-1 facdf8265d150fc5ce796bb9fd16ad89a2c31383
If you want to link to this document you can download an »advertising« image here.
Background story
If you are interested in how I developed, created and build the portable Apple ][ emulator you might want to take a look at the complete thesis which can be downloaded in the section Documents above. This section only gives some meta information since everything about the emulator is obviously written down in the thesis.
Initially I planned to create a portable NES console (by emulating the 6502 processor on an AVR) for my thesis since my supervisor teaches a course where he builds a DIY, self-developed game console (by him) with the students based on an ATMega 1284p. I then started to implement a prototype NES emulator in Java and then did the math and came to the conclusion that the PPU (picture processing unit) is way to complicated to be emulated easily with a 20 MHz AVR along with a 6502 processor and I/O (display, game controller) emulation.
Then we thought about another alternative and came to the Apple ][ since it uses the same processor and mainly consists of the processor (no other complex parts) and might be easy to emulate. The goal of a portable unit seemed reachable with it.
The final product is - as you can see in the 360° view at the top - is a real portable device. The emulation of the MOS 6502 makes only a little part of the around 9.000 lines of code (LOC). The following figure shows the layer diagram of the different modules of the emulator.
![Layer diagram of the Apple ][ emulator](software_structure.png "Layer diagram of the Apple ][ emulator")
Layer diagram of the Apple ][ emulator: every horizontal connection of two boxes symbolizes a »use« relation.
The green module is the AVR assembler source code of the CPU emulation. All other modules - with except to the gray modules (SD library, C compiler and hardware) - have been developed completely from scratch over the course of my thesis by myself. They are written in C. In the following a short explanation of every module is given:
- Emulator Runtime Environment (ERE) - Contains the source code which makes up the main (backend) GUI of the emulator in particular: the menus. For example the menu which lets the user choose a program to load into the Apple ][ RAM from a disk image on the SD card is generated by this module by using display functions and DSK I/O functions to read Apple ][ disk image files.
- UI Framework / Display I/O - Some low level functions to control the LCD display (SSD 1289 controller) and functions to paint menus and backgrounds - just like the
displayTUI tool on Linux. - Keyboard I/O - Accepts key presses from the separate keyboard controller (since the key matrix scanning needs too much resources to be integrated into the main controller) and provides some high-level functions to convert Apple ][ keystrokes into regular ASCII keycodes and some wait-for-keypress functions.
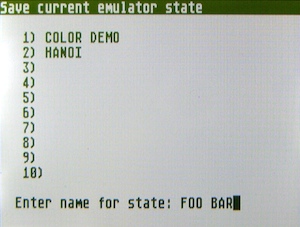
- State I/O - The emulator supports saving the current state of the entire emulation including RAM and the processor registers. Therefore the execution can be saved and reloaded later to continue at the exact same execution state. This module provides functions to help saving and loading the emulator state and relies on the module TWI / EEPROM which provides the physical layer support.
- TWI / EEPROM - Provides physical layer support to talk to an EEPROM, e.g. two functions which utilize the AVR's hardware support for I2C to talk to the 128KB I2C serial EEPROM from Microchip.
- DSK I/O - Contains all high-level functions to read Apple ][ floppy disk images (5 1/2 inch floppy disks, normally 140 KB in total) and list the contained programs to load them into memory. This is done since the emulated Apple ][ is the original version and lacks floppy disk support. Besides this not enough resources (no more MHz!) are available to provide this functionality. See also the section about future development here.
- SD Library (3rd party) - The emulator uses the Petit FAT File System Module by Elm Chan since it worked out of the box. A further improvement could be to store states to the SD card. This would allow for more states to save on the one hand and allow to eliminate the EEPROM and circuitry on the other hand. This reduces the component count, saves cost and makes everything less complex. See the section about future development here.
- 6502 CPU Emulation - Advanced emulation of the MOS 6502 processor without support for illegal instructions (not originally defined) and the BCD mode. Implemented in AVR assembler using directly AVR instructions for speedup when possible.
The used ATMega 1284p has a total of 16KB physical SRAM. Since the emulation software needs some SRAM for variables and data only 12KB remain for the emulated Apple ][. The following memory map of the Apple ][ visualizes the memory regions which are »supported« or have physcial memory attached - this supported regions are shaded in light brown:
![Memory map of the Apple ][ with by the emulator supported regions](a2_memory_map.png "Memory map of the Apple ][ with by the emulator supported regions")
Memory map of the Apple ][ with available memory regions shaded in light brown.
One can directly see that high resolution graphics cannot be supported since the graphics memory (frame buffer) is not fully covered. So the emulator only provides standard 40x24 text mode (960 characters), or 40x48 low resolution graphics mode or mixed mode.
It is clearly possible to connect an external 64KB SRAM module to the emulator and use the full memory map of the Apple ][ although almost all the 40 pins of the ATmega are used. But the time of the thesis was bound and not every goal can be reached in a certain time. Therefore we (my supervisors and me) decided that it would be enough - at first - to go with 12KB and get it working. And also be aware of the fact that the original Apple ][ - which is aimed here - not always came with full 64KB of RAM since back in the days SRAM was not cheap. So often only 4KB or more were populated which makes the created emulator with 12 KB of RAM into a mid-range model.
The following figure shows the schematic of the Apple ][ emulator (third prototype) I build as presented on this page. Although this schematic looks very »simple« it took me some time to figure all components out so that everything works fine. It took around 35 Euro to build the Apple ][ emulator.
![Schematic of Apple ][ emulator](schematic.png "Schematic of Apple ][ emulator")
Schematic of Apple ][ emulator as shown above. Click here to download the PDF file.
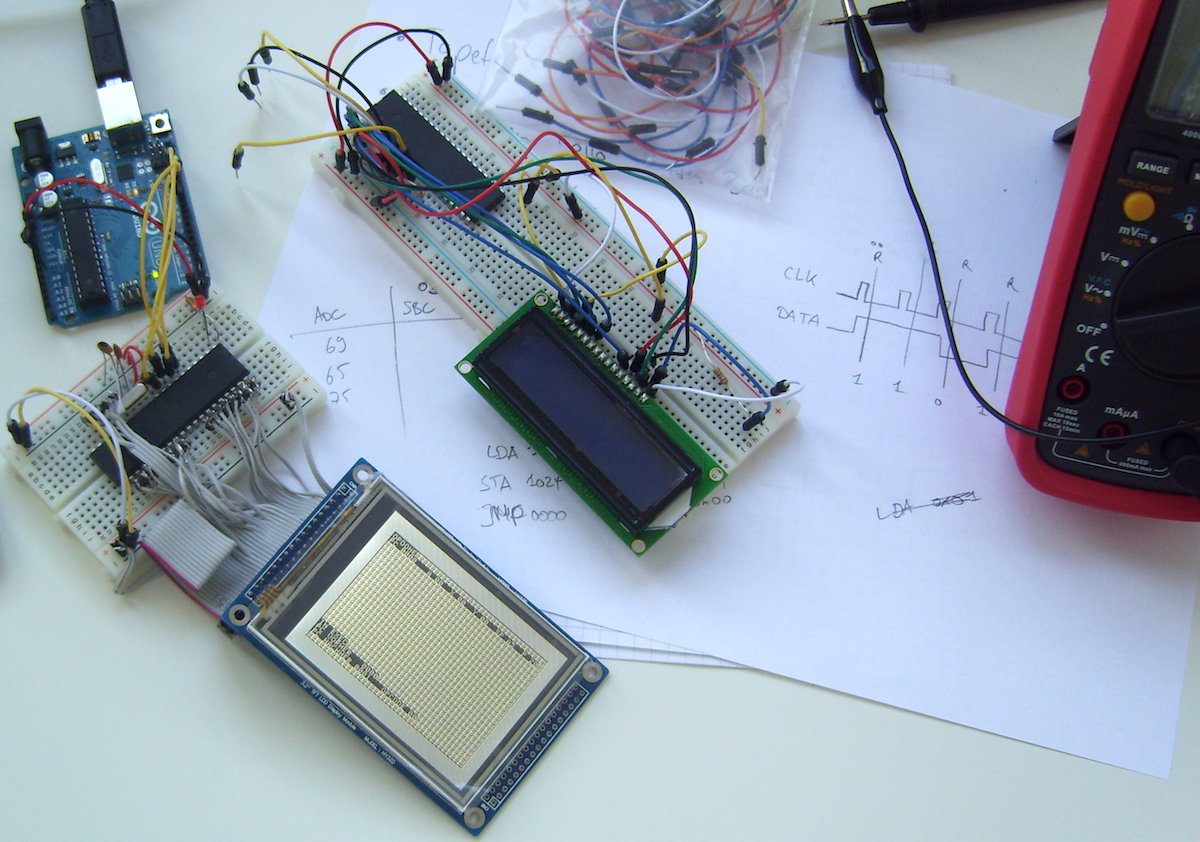
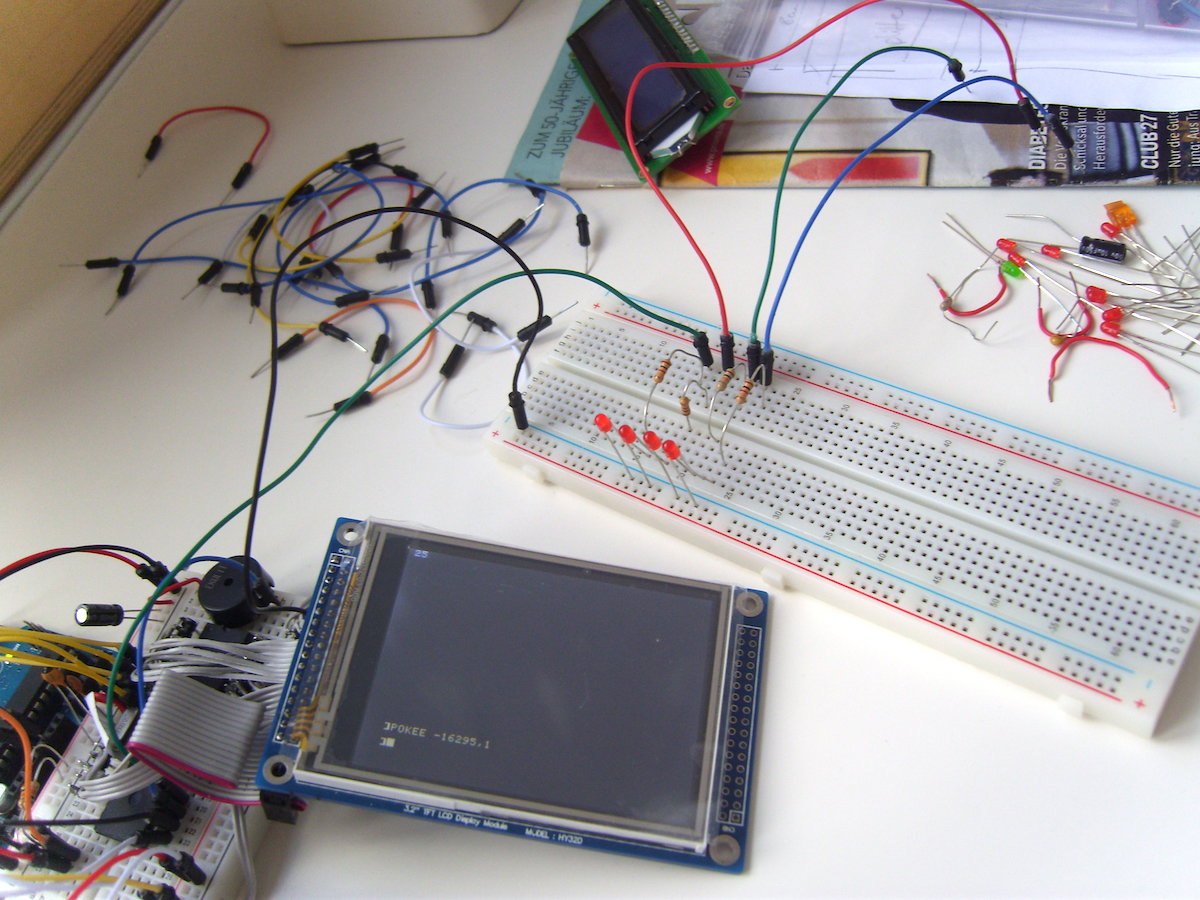
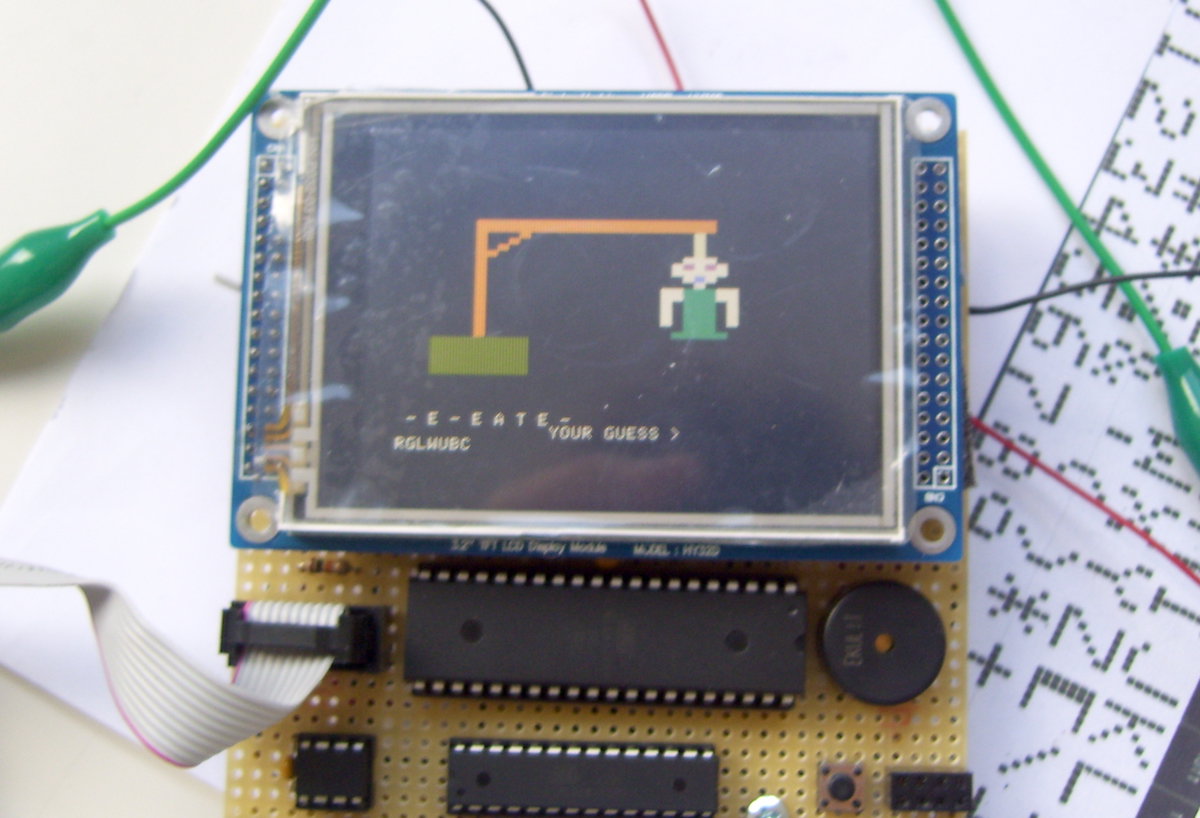
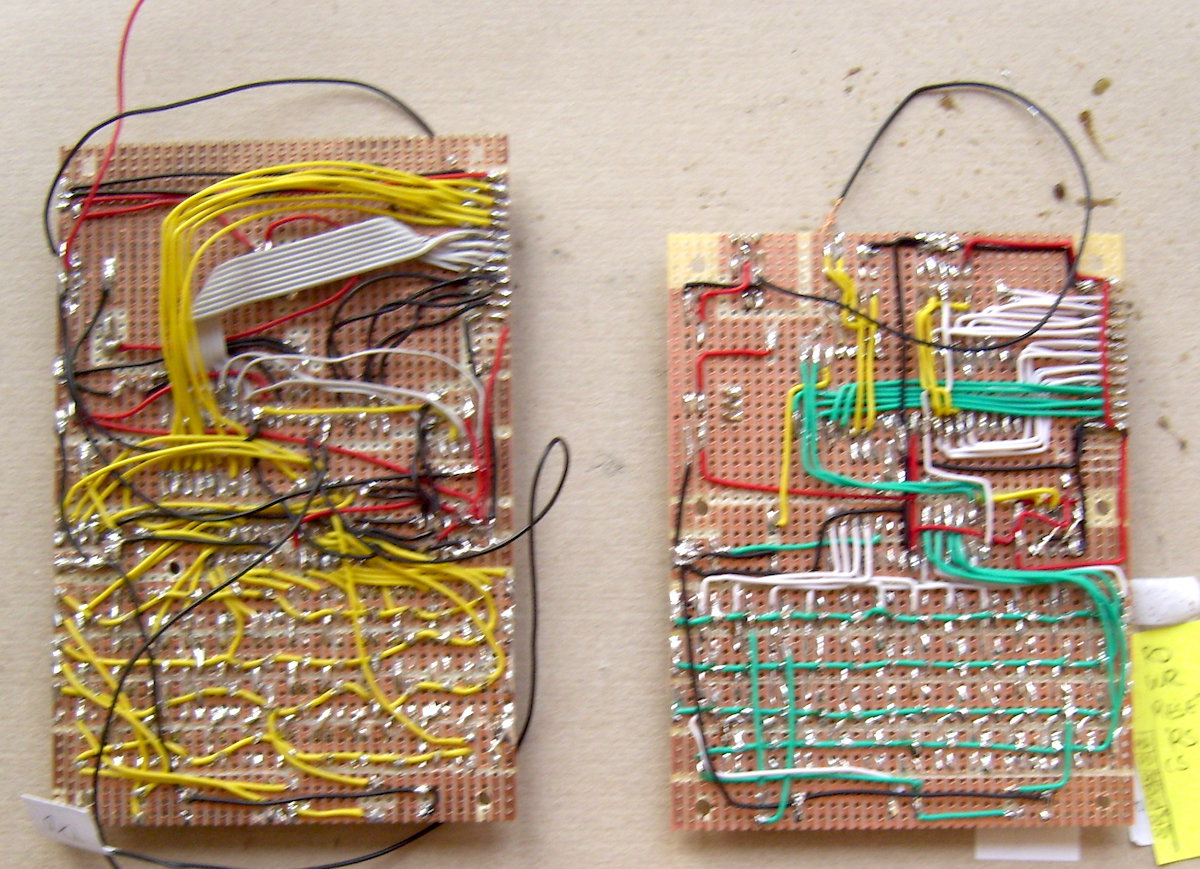
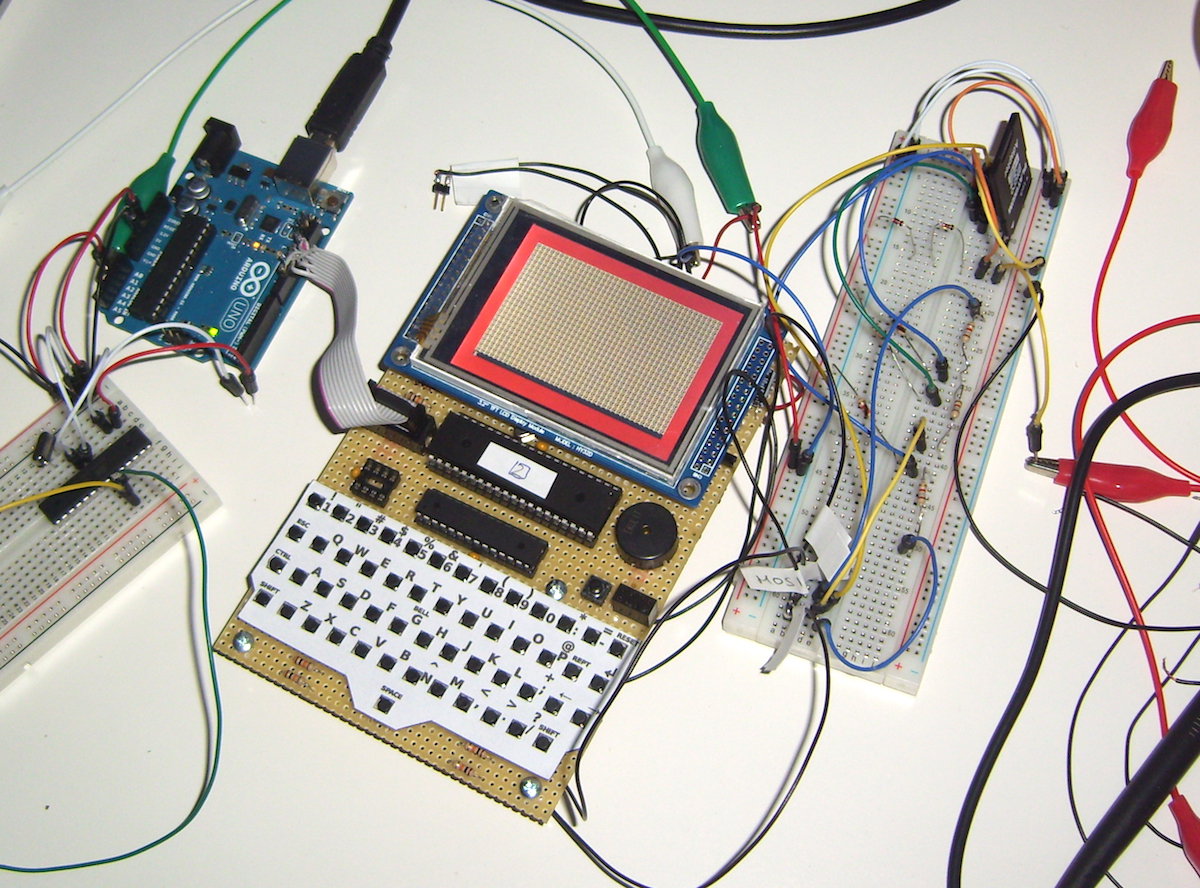
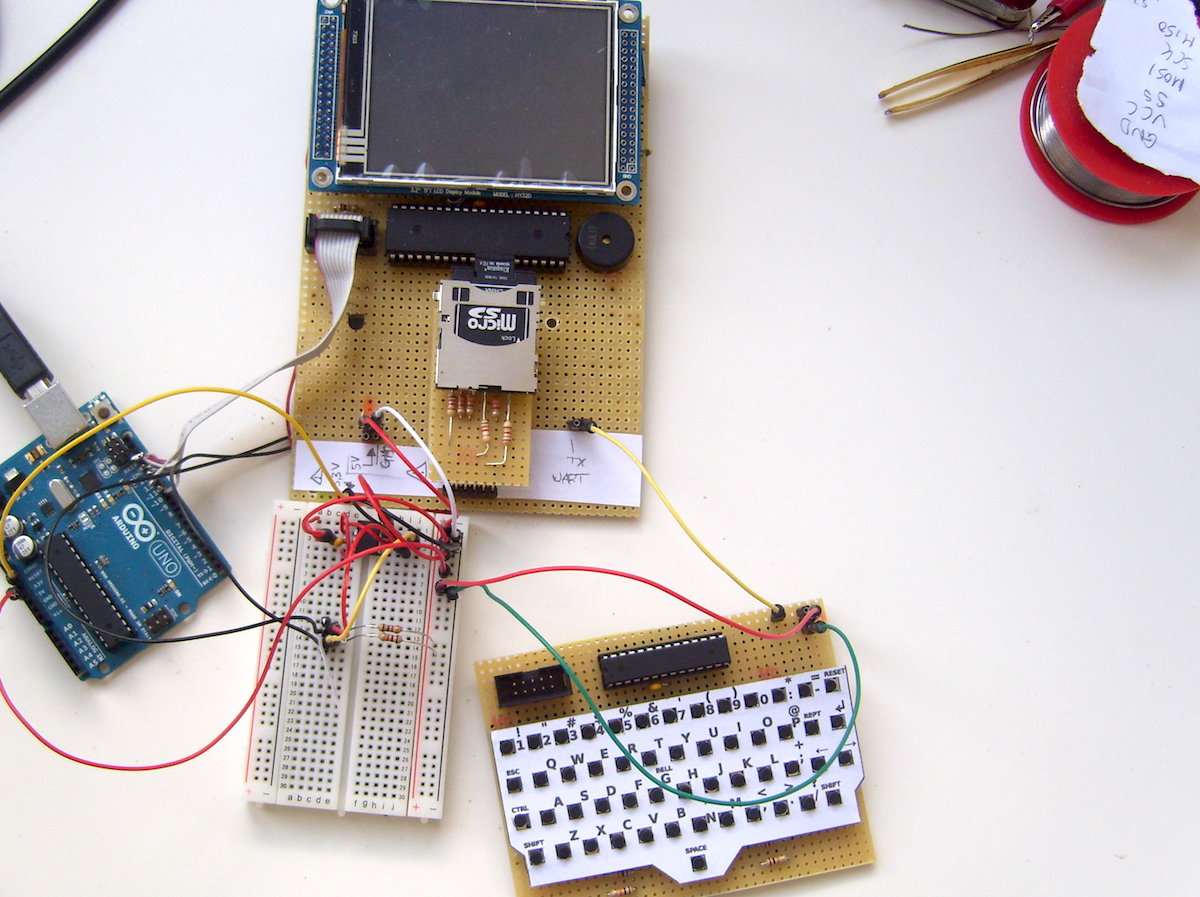
Apart from the shown final version of the Apple ][ emulator in the 360° view above two previous versions and a breadboard protoype have been build by me. Over this »evolution« the features and function of the emulator was refined. In the following sections some pictures of this development are shown. You can also find visual impressions of the final prototype on page 77, of the previous prototypes on page 83 and of the backend firmware on page 63 of my thesis.
Further visual impressions
In the following some visual impressions (aka photos) are given which show the development of the emulator in different states.
![The CPU emulation works and the Apple ][ boots to the usual boot screen. But the keyboard is missing ...](photos/pic_1.jpg)

![Now the Apple ][ works without problems - here a little BASIC example.](photos/pic_3.jpg)

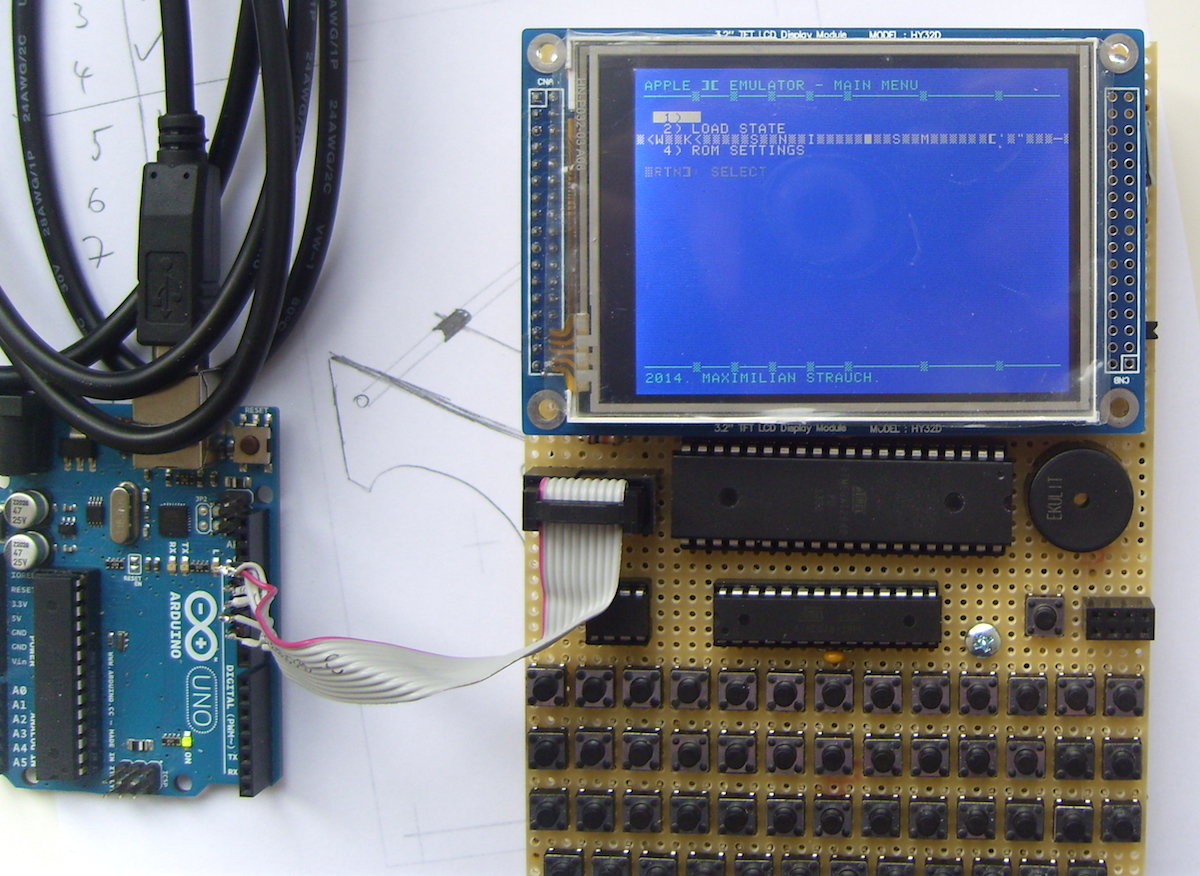


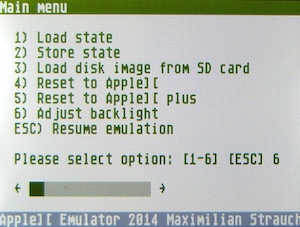
![Final backend menu of the Apple ][ emulator firmware.](photos/ui-1_mainmenu.jpg)
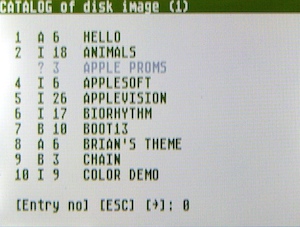
![Open an Apple ][ floppy disk image from the SD card ...](photos/ui-3_dskload1.jpg)
Future development
The question how this project continues is not easy to answer: it's finished although it misses some features and contains some bugs:
- First of all it only emulates 12KB of RAM. Therfore the HiRes mode is not available but many games used it. So an expansion to an external SRAM with 64KB would be nice. Since memory is then external the mapped I/O from
0xc000to0xc07f(see image above) needs to be implemented by external glue logic (to keep the speed up). Thefore I already ordered some Xilinx XC9536XL CPLDs to contain the address decoding glue logic. But I would try at first to handle the »address decoding« by software in the main ATMega and see if it works with the necessary time constraints. - The keyboard is improvised with the tactile buttons and the debounce isn't adjusted right. So sometimes multiple characters appear instead of one. But this could be fixed easily.
Because my supervisor absolutely didn't like the tactile keyboard I already added a connector for a PS/2 keyboard on the third prototype (right angle female headers). It is connected to the USART (RX and XCK !!) of the keyboard controller. The software is not implemented but could be at every time. - Sometimes a »glitch« happens when loading data from the SD card and the data isn't loaded. I suspect that the data isn't written correctly into RAM or my calculated start location is wrong (since I »implant« the data into BASIC). So I would start by checking this first because it is most likely the culprit.
- States could be saved to the SD card. This would reduce the parts count and wiring of the emulator.
- This list could be continued with smaller feature requests but I guess that this are the most important ones.
So you might ask why I didn't implemented those features and the answer is very simple: lack of time. So the time for my thesis was bound to a fixed time span (six months). This times includes besides writing the software and building the protoypes also writing a decent final document, creating a final presentation, printing the thesis and first of all - at the beginning - find the right topic to work on. But despite the fact that not every feature is included I think that I came to a decent result. And most people take the written thesis for granted but I can tell that it is a lot of work.
When I think of future development and implementing those features I'm split because it was and is a really fun project and - to my best knowledge - without any competitors on the web. But: why should I invest more time if you can use a Raspberry Pi Zero and RetroPi to create such a device in the magitude of tens of minitues? And usually when I get to this point in my mind I cancel any thoughts of further development. But I thought of this several times in the past. So as long as nobody asks me to continue this project with a good reason it will continue sleeping.
When I wrote my thesis and had the idea (in 2013) RetroPi wasn't around and it seemed that there was no decent project which provided a handheld Apple ][ emulator. Even the Raspberry Pi Zero was not around. But nowadays the only justification or difference to the Raspberry Pi solution is the fact that I emulated an Apple ][ - which is an 8 bit machine - on an 8 bit microcontroller which is only 20 times faster in terms of clock speed compared to e.g. the Raspberry Pi which is 700 to 1,000 times faster. You could also use a STM32F103* which runs at 72 MHz and has plenty of resources to emulate the Apple ][. But it is a 32 bit architecture.
I'm sorry (to myself), but this wasn't justification enough to continue this project after I finished the thesis (and also the lack of time). But there is one more thing I might do in the future: now that I have a 3D printer I might print a cool enclosure. I have some ideas to make it into a handheld like the Sony Vita with the full keyboard split in half and placed on both side.
Conclusion
As you can read in the final chapter of my thesis the original (100%) speed wasn't reached by the emulator since mostly the memory read slows down the execution since it is checked for too many cases although it is implemented in optimized AVR assembler.
For me this project was a huge success. Not only because of the grade but also because it was 100% fun to work on and I learned almost as many as in the five previous semesters of the bachelor curriculum. Don't get me wrong, the knowledge and impressions of the bachelor curriculum are important but the thesis was the application of all my knowledge I learned and the soft-skills - like project and time management - which I learned. So I really think back with pleasure.
Writing the thesis with OpenOffice.org
I did an experiment with my bachelor thesis: although I really like LaTeX for creating beautiful scientific documents I wanted to try if Apache OpenOffice.org (in version four I guess) could be used to write such a complex document with images, listings, tables and references to literature. The result is: it works, but ...
... not as smoothly as one would expect. I needed to use many workarounds to get things working and also needed to keep track of the structure in my mind to (re-)check it always. One annoying thing was that I needed to go over every page after opening the document. If I exported the document without doing this not everything was at the right place on later pages. Graphics and tables were moved and the pages were not layed out correctly and literature references were not filled. So the workaround was to scroll over all pages after opening the document, remaining on a page for less than a second and then exporting it. And it worked - as you can see.
Another annoying thing is the kerning in the PDF which is not always beautiful. At some places the letters are to close to each other and look strange. This can be observed in the PDF you can download from this page.
So the final judgement is that OpenOffice.org can be used for such large documents but it is not much fun and you'll need to inspect everything carefully. For my Master's thesis I used the good old LaTeX typesetting software and the result was much nicer and the creation was much more relaxed.
License
Important: The documents presented on this page, my Master's thesis and other related documents and images are not licensed under the terms of the BY-SA 4.0 license like the rest of this website.
I am the exclusive copyright owner of all the documents related to my Master's thesis presented on my page or otherwhere. This page, the information on it and my thesis document is released under the terms and conditions of the BY-NC-SA 4.0 license. That means that you can:
- Read the information, copy it, share it and link to it.
But you are not allowed to:
- To use, publish or sell it commercially.
- To remix, transform, or build upon the material and publish it.
In every case you must give appropriate credit to the author of the document (me). If you need more rights, want to use it or have any other question you might want to contact me.